Hubitat Integration

Today’s 3.1.0 release introduces an official Hubitat integration. This integration will connect both locally & through the cloud using the Maker API. If you choose to enable both, it’ll prefer the local connection over the cloud connection & use that when available.

All of the fields the Home Remote app needs from you can be found on the Maker API setup page. What’s on that page should match what you give the Home Remote. The page doesn’t list them all specifically as some are embedded in the URLS. For example, let’s look at the screenshots from the Hubitat docs. For that particular install we can see that the ‘App Id’ is 37 & the ‘Access Token’ is that long string of characters at the end beginning with ‘073e93…’. The ‘Hub Id’ will be in the Cloud URLS section. It’s the value sandwiched between /api/ & /apps/. There isn’t a checkbox to enable local access in the Home Remote. To enable local access, just supply an IP address. Leave the IP address blank if you’d like to disable local access.

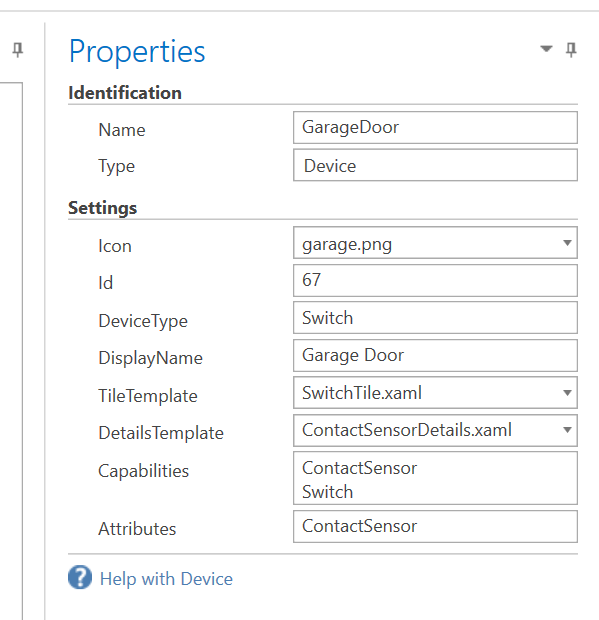
The integration includes access to all of the devices you’ve authorized on the Maker API setup page. It also includes access to your location’s Mode. When you sync your devices you’ll notice a “Mode” device automatically generated as well.

Any comments are questions, please let me know!

Here’s a link to Hubitat’s Maker API Install instructions.
https://docs.hubitat.com/index.php?title=Maker_API

Installing Maker API

  1. From the Hubitat Web Interface select Apps

Install Built-In App 2.0.png

  1. Choose Maker API from the list of Hubitat Elevation® Built-In Apps.

Install Maker API.png

  1. You can enable Logging if you want to see detailed information in the logs. Remember to open up logs in another tab.

Enable Logging Maker API.png

  1. Select the devices you want to authorize for this API. NOTE : Only the devices you select will be accessible via the endpoints.

Maker API Select Devices.png

  1. Select Update
  2. Next, you will see URLs to get you started. Each endpoint URL is made up of the following segments: http:// [hub ip address] /apps/api/[app id] /[endpoint path ?access_token=[access_token]
  • NOTE : Your access token is an Authorization Token, similar to a username and password. Anyone with this token can access these endpoints. To reset your access token, you will need to remove and re-add the Maker API app.

Maker API endpoints.png
7. Press Done

2 Likes

Great news! Thanks Bill!

I have been using the community built integration and just made the switch to this. Seems to be working well with the short time testing so far! :metal:

Note for those switching like me: I was able to do it effortlessly by deleting the community built integration and then adding the official integration. The device names came in the same so none of my bindings broke.

2 Likes

Oh c’mon! I spent 2 hours yesterday getting the community version up and running and now wake up to this today. :grinning:

Can’t wait to give this a try. I recently purchased a Hubitat hub for testing purposes as my Wink hub just recently became a piece of garbage.

Thanks Bill!

2 Likes

Bill, thanks for the update.

I was able to get working. For other users, your instructions could be clearer if you had a screenshot of where the App ID was located in the Maker API, just highlight and circle. Also, it wasn’t clear that you need to turn on the cloud / remote access to generate the other code.

I have now completely migrated from ST to HE. There was actually little work to do in Home Remote since I used the exact same device names when I moved each device over.

So far, I haven’t really had any issues. Seems rock solid! I’ve never been a fan of “Clouds”. Someone else’s cloud at least…I can build my own damn cloud haha. I live in the middle of nowhere, on a mountain, and I lose internet often. With HE everything stays local and the speed is SO much faster. I can tell easily. I tested the cloud connection while I was out at work and it worked well, but I didn’t tinker with it to much.

I’m going to miss webcore but I think I’ll find work a around for some of my complicated pistons (rules).

1 Like

I’m trying to control the HSM. Under devices, I have “Modes” to control the mode endpoints but, should there be something to control HSM endpoints? Thanks!

HSM isn’t currently supported. I can add this to a future release.

2 Likes

HSM support will be in the 3.11.0 release which should be published later this week.

2 Likes

Hubitat HSM is now available.

When you sync your devices a new object with Id hsm will be added. This supports a new SecuritySystem capability that has a SecuritySystemStatus attribute.

Possible values are:
ArmedAway
ArmedHome
ArmedNight
Disarmed
AllDisarmed

When you write to this attribute it’ll call the appropriate arm/disarm command.

Attached is an example project.
Hubitat_HSM.hrp (4.6 KB)

2 Likes

Having HSM on here is really great. This is something I’ve been wanting for a while. I may even take down my IRIS keypads.
I used a large shield icon and I change the foreground color based on status. One thing: is it possible to add the pending state changes (armingHome/armingAway)? It goes to “unknown” during that time. I appreciate all the support and help… donation made.

That was one issue I thought might come up. I’ll add support for those transitioning states in the next release.

Thanks for the donation!

Working now. Thank you!

1 Like

Hi Folks,

Just starting to explore homeremote having tried various other solutions (Lovelace, Hubitat dashboards, HomeKit,nodered etc) and never been able to create the polished look of some of the higher end professional install solutions - so keen to dive in!

Does anyone have any fully developed examples with Hubitat they could share ?

All the best

D

hello, someone could help me in knowing which of all the tokens on the list is the one I should use. Thank you

Read the documentation carefully. If you’re looking at the Maker API setup page (on your Hubitat), the token will be the last string of characters at the end of all the URLs. Look closely and you’ll see this string of characters is the same for all the listed URLs. That’s your token. Hope I didn’t misunderstand your question.

Just getting started. The designer refuses to connect via my local IP, I know I have the AppId and token right, but where is the hub id? What am I missing?

Ha, you don’t have to include “http://” in the host!

@bill I’m trying to add a garage door and it has switch capability’s and contact. I want the control to be switch but i want it to display the contact status. is that possible?

This is what i have tried

You are going to have to design a custom tile for this. There isn’t a prebuilt one that you can use.

Either that or build a virtual device in Hubitat that implements the “DoorControl” capability. Then you can use the Home Remote’s existing GarageDoorTile.xaml
https://docs.hubitat.com/index.php?title=Driver_Capability_List#DoorControl

Are there any templates or guides for this?

Edit worked it out :+1:t2: